

Post by huntergks on Apr 17, 2015 13:49:46 GMT -6
NOTE: This is just the way I process deer. I am in no way saying it is the best way or the only way, just the best way for me.
Step 1: Put a deer on the ground.
FIELD CARE
This is probably the single most important step in having quality meat from an animal you harvested. Keeping the animal clean while dragging and/or transporting is VERY important! Taking your deer to a processor doesn't always mean you get your own meat back, don't get me wrong most processors are good at doing each deer individually for steaks and roasts but when it comes to burger meat a lot of times they weigh and bulk grind then separate. I certainly don't want meat from someone else's deer that wasn't properly cared for.
Step 2: Hang the deer. Mid-40s & colder
NOTE: Step 3 can be performed immediately after hanging, in which case, Step 4 would be valid. Or, leave the skin on in place of Step 4 until you are ready to start cutting up the deer.
Step 3: Skin the deer.
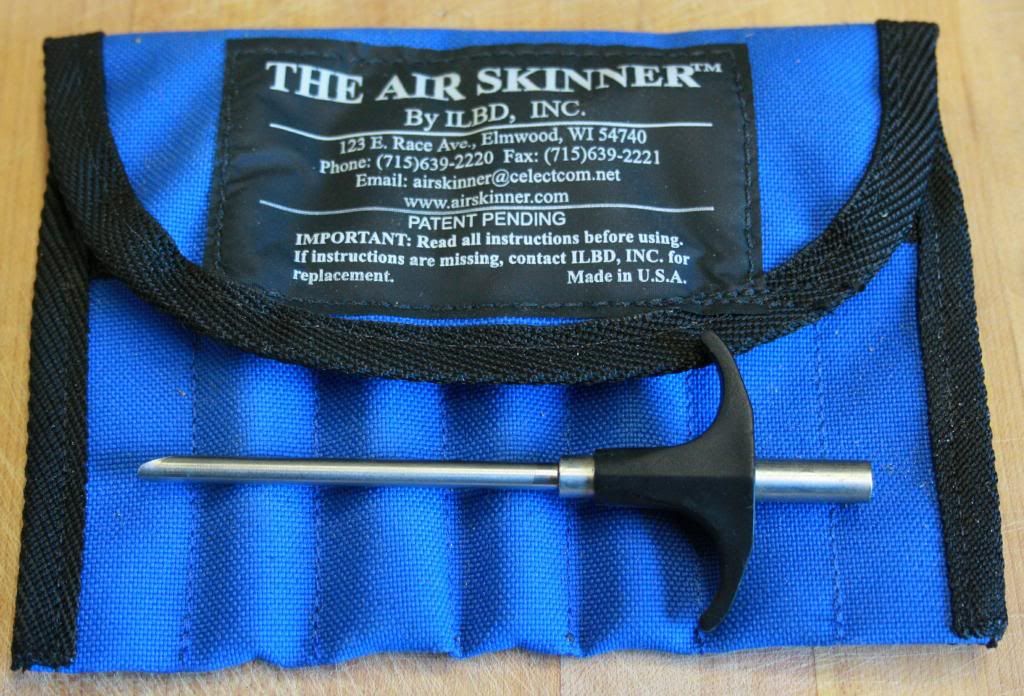
I bought an air skinner & it really helped. You stick a large needle between the hide & the meat in several places & apply the air compressor set at 100 PSI. Helped a lot but there is still quite a bit of cutting.
Step 4: Bag the deer.
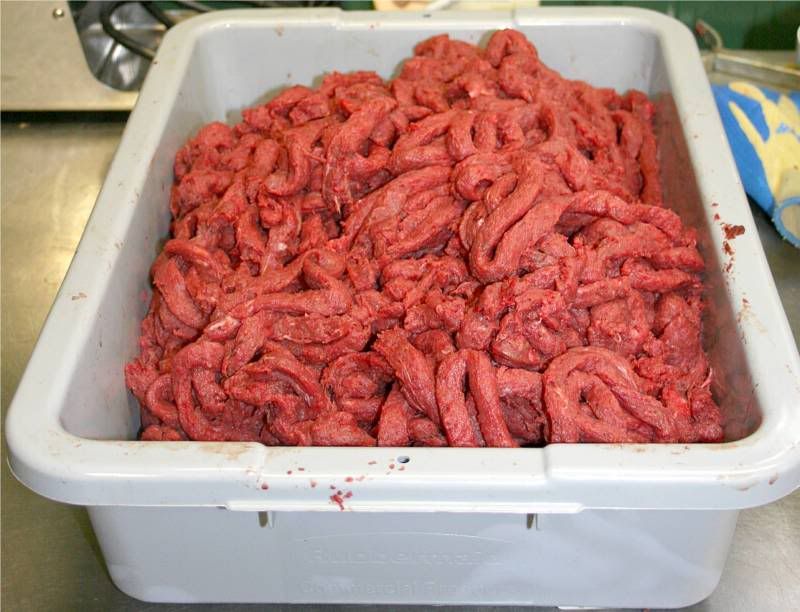
Step 5: Cutting up the deer.
On my better cuts (tenderloin, loin & hind steak) I will get as much of that "muscle sheath" (I call it fascia) off as I can. I trim the meat before slicing into steaks. I have a very sharp knife designated for "final trim" and can fillet that fascia off sort of like the skin of a fish, only small pieces at a time. I do get some meat with it now & then but not a whole lot.
BTW A good & cheap way to wrap meat for the freezer is to just use cellophane. I wrap a piece of meat in a base layer squeezing as much air out as I can. I then wrap it again in another layer including a small piece of paper to label what the cut is.
I may saw off the head but don't use a saw on anything else. Leaves bone & marrow on the meat & makes it taste nasty. Use a knife to cut the joints.
For me, de-boning the meat is the only way to go! Other than separating the spine at mid body and just below the head everything I do is with a knife. Any meat that is blood soaked gets soaked in a salt water solution overnight.
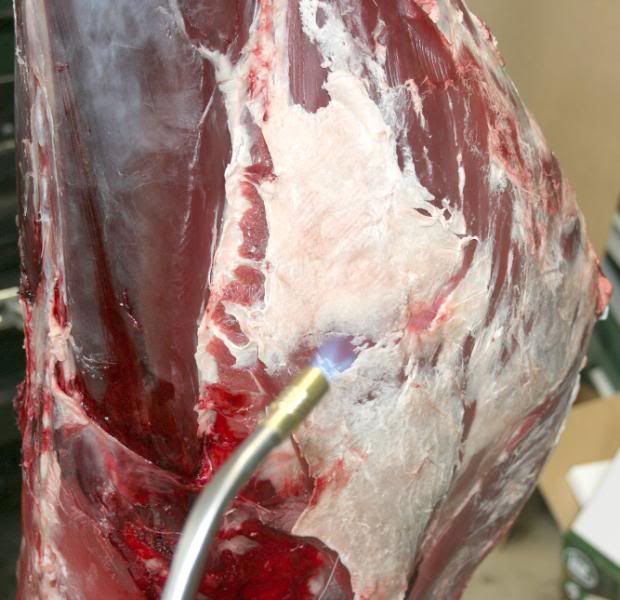
The easiest way to remove any hair that gets on the deer during the skinning process is with a propane torch.
After cutting up but before processing, I put the meat in the freezer overnight. It grinds a lot easier when partially frozen than warm/cool meat. If I make a 2nd grind, I put the meat in the freezer again. I also do the same with the pork/bacon I use.
A grinder is probably the single most expensive processing tool you will have to buy. Speaking from experience, do not waste your $ on a "cheaper" or small grinder, been there done that and it was simply a waste of my hard earned $!! I finally got tired of taking apart the small grinder to clean out the cutter and having to stand there slowly feeding in small chunks of meat. I bought a commercial sized grinder and I can just about feed it as fast as I want too, I generally grind the venison twice and with the better grinder I have no problems.
Step 6: Processing a Deer into Sausage.
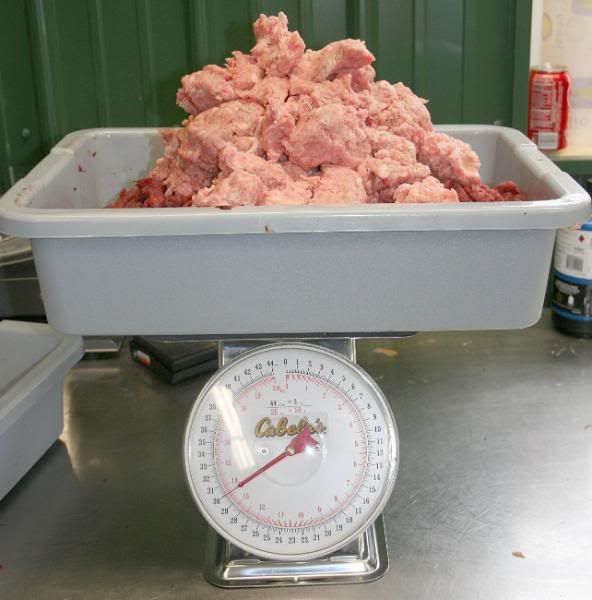
A. Get fresh pork chunks from the butcher. I use a 2 to 10 ration. The pork has 5%
fat & the rest is pure pork. I trim off as much fat as possible before grinding
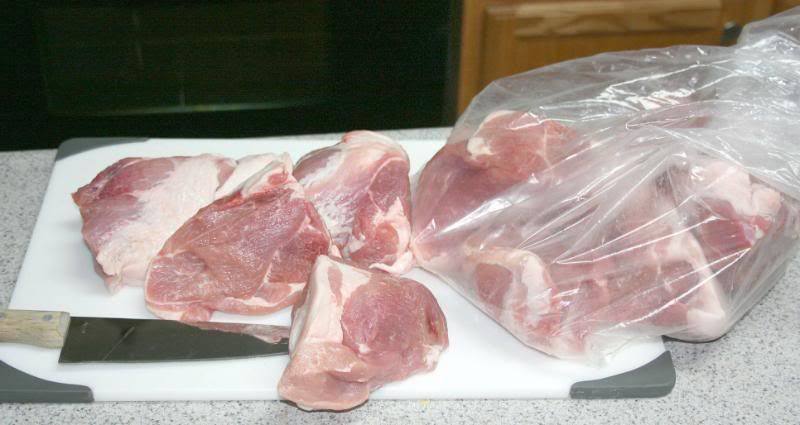
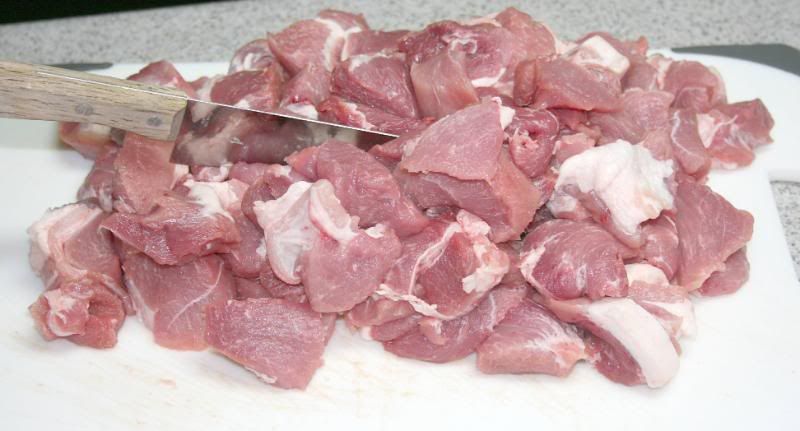
B. Cut the pork into smaller pieces so they will feed through the grinder. I suggest
trimming most of the fat off the meat. Or cut the fat into very small pieces.
I believe the pork will be moist enough by it’s self without all the fat. I learned
the hard way that my grinder will clog up if the fat is left in larger chunks. I
wasted a lot of time clearing the blade & plate. Next batch, I’ll try chopping the
fat very small & will report back.
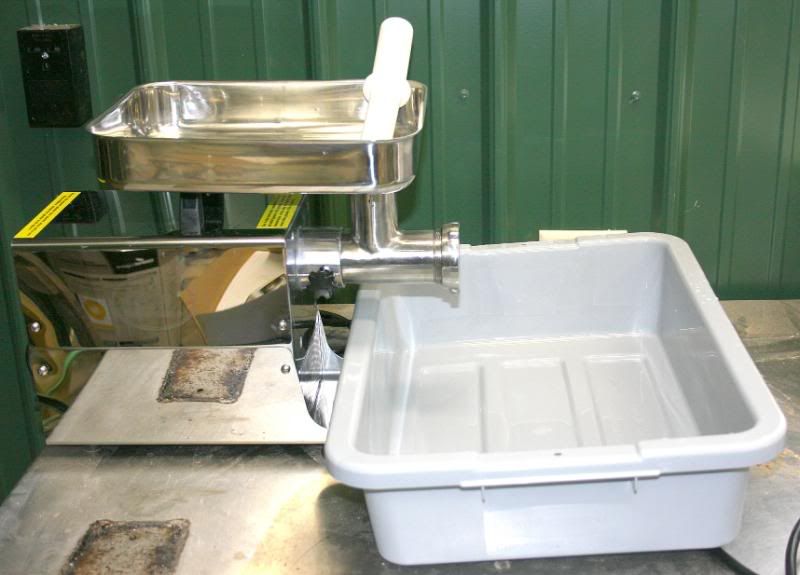
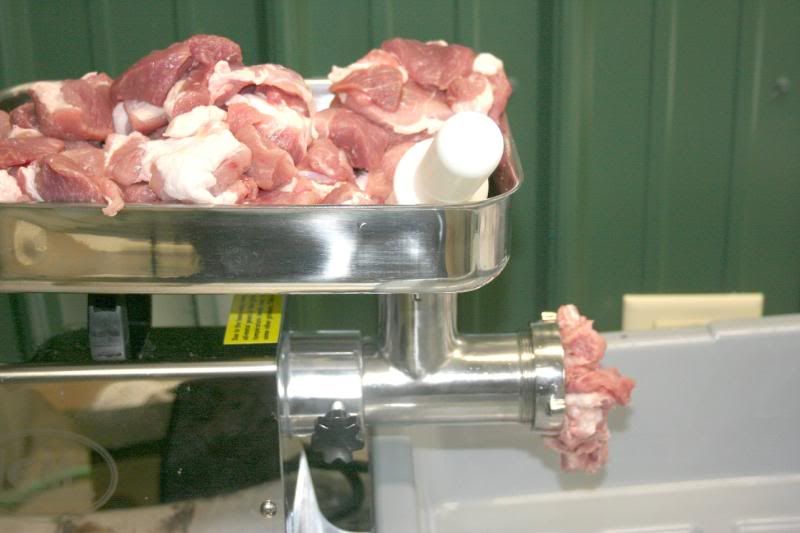
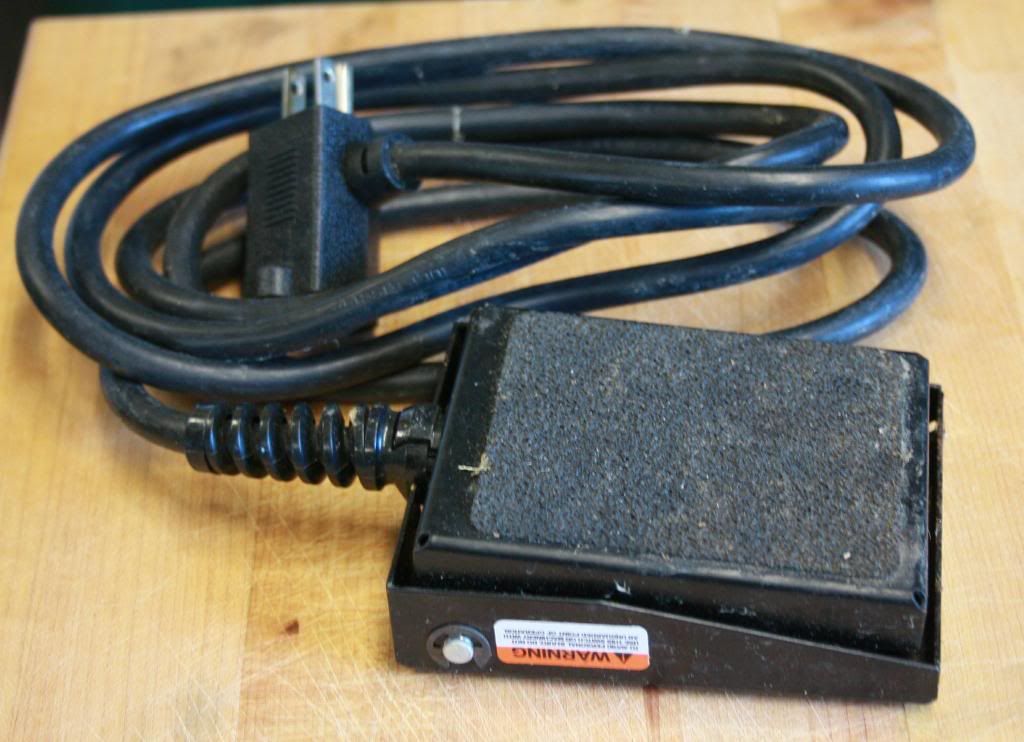
C. Set up the grinder & meat lug so they are easily accessible. I also have a foot pedal to run the grinder so I have to be careful where I place it; not in water.
D. Load the meat tray.
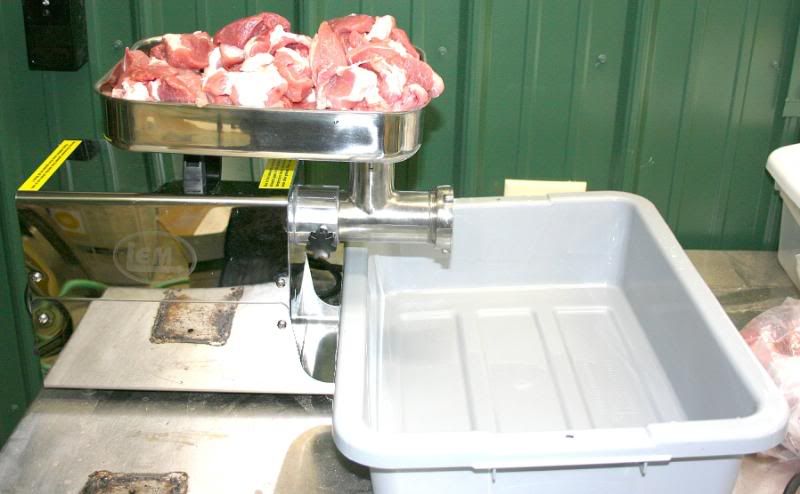
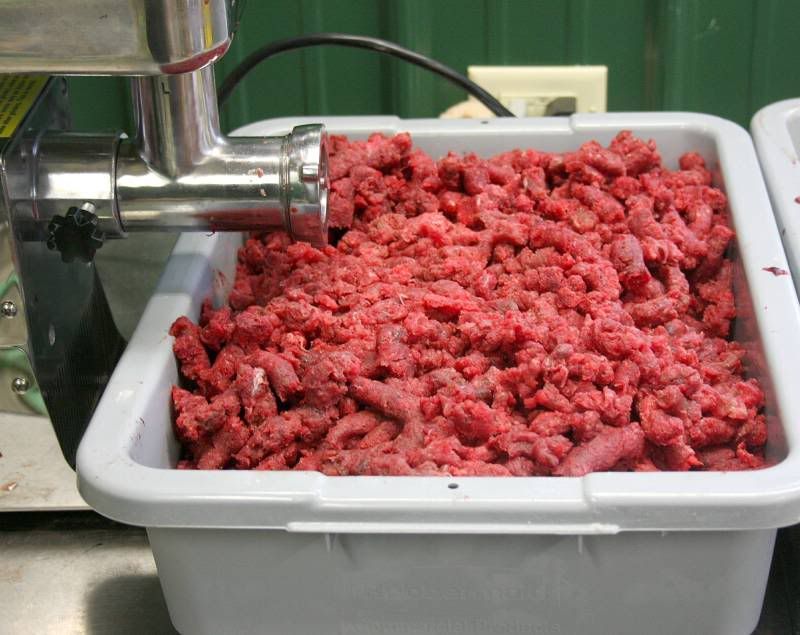
E. Start running the pork through the grinder.
===================================
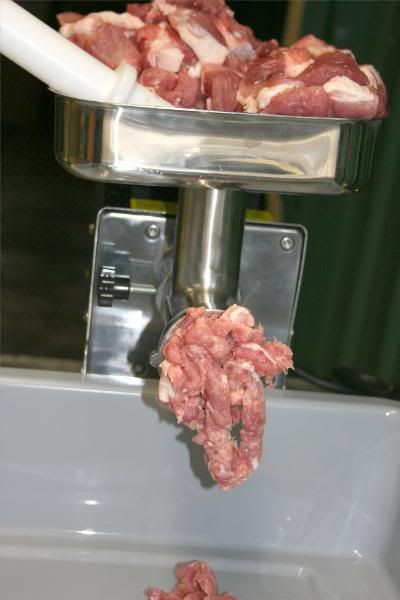
F. I ran the meat through the coarse grinder plate twice. I was going to run it though a medium plate but it seems that the course plate provided the results I wanted.
G. 1st pass through.
\

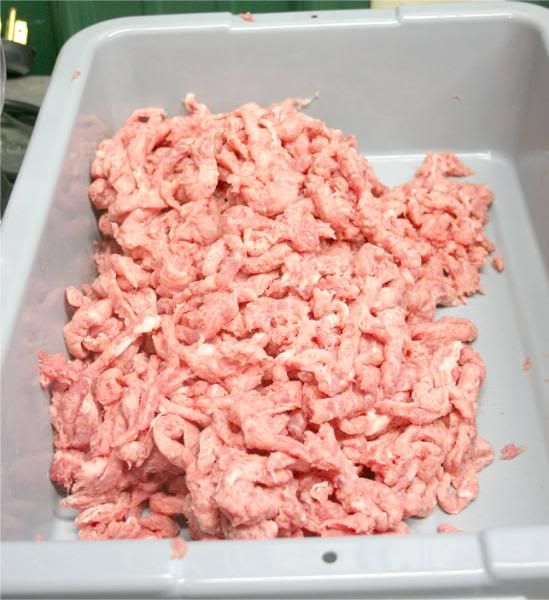
H. 2nd pass through.
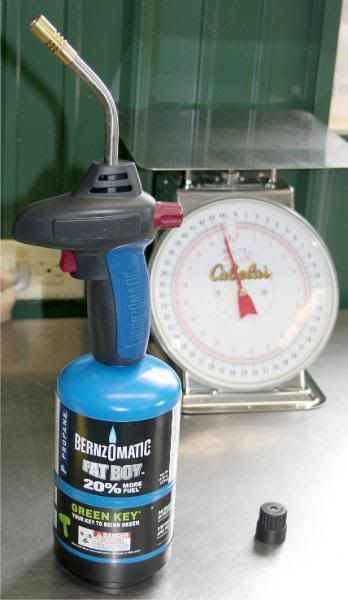
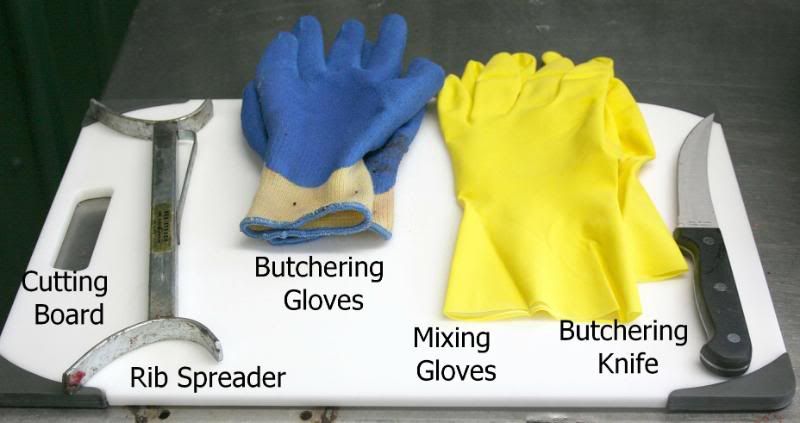
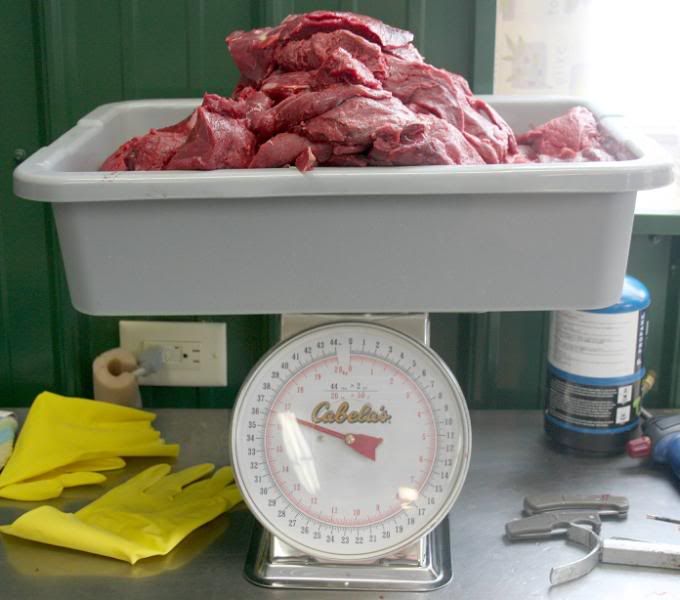
Here are the rest of the pieces of equipment that I used today to cut up my deer.
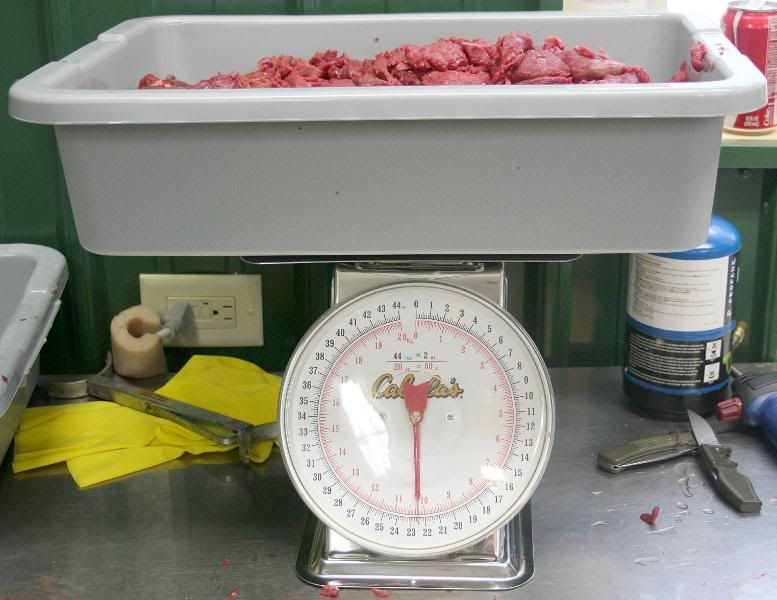
A torch to singe off any hair on the deer as well as a 44pound scale. Singeing the hair helps avoid hair in the meat but doesn’t change the taste of texture of the meat. My room did have the smell of burning hair for awhile though.
These are pretty obvious. The blue butchering gloves have texture fingers & palms. They provide a better grip as well as saving you from a lot of nicks, cuts, & scrapes.
======================================
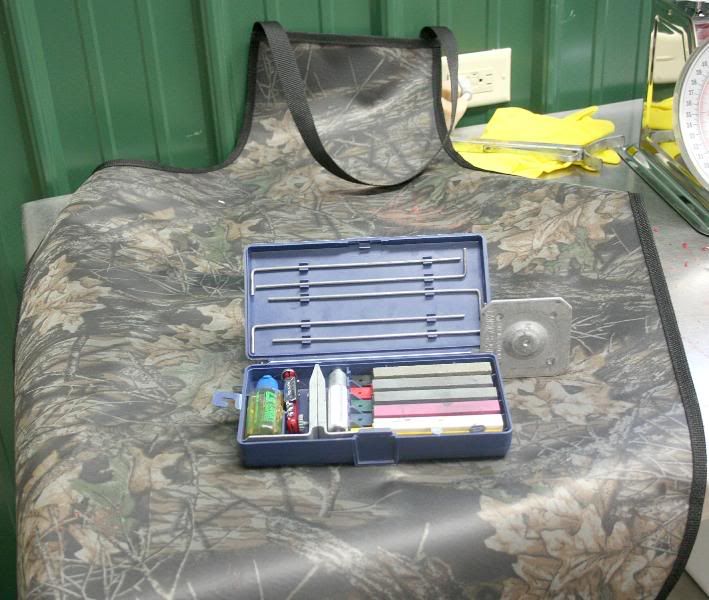
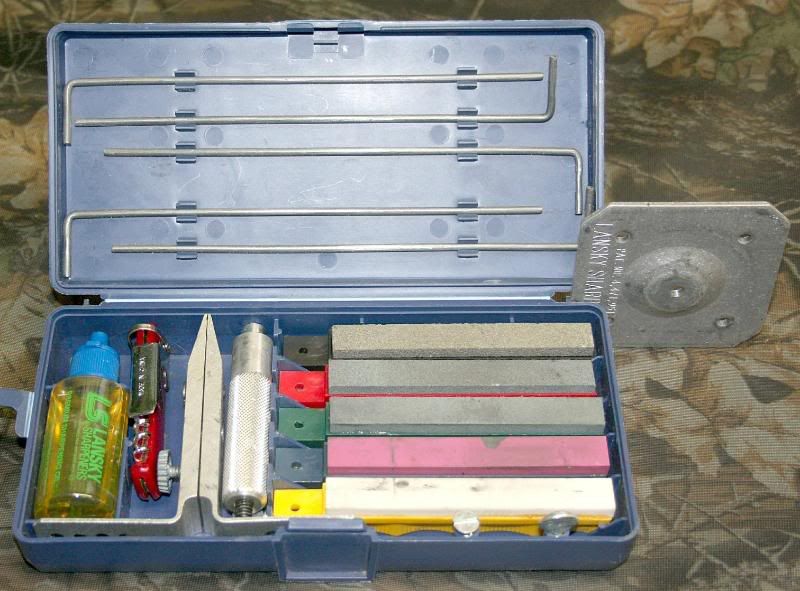
A heavy duty apron & a Lansky Knife Sharpening Kit. NOTW: I have since bought a professional style electric sharpener.
Step 7: Singe all hair from the carcass.
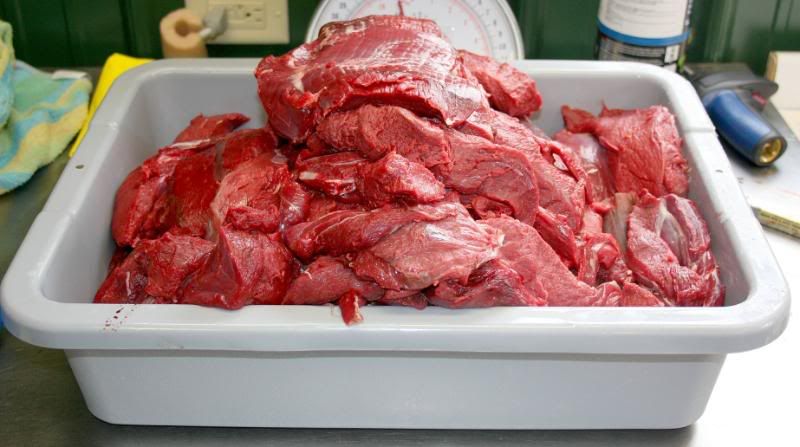
Step 8: Remove all useable meet from the deer.
==========================================
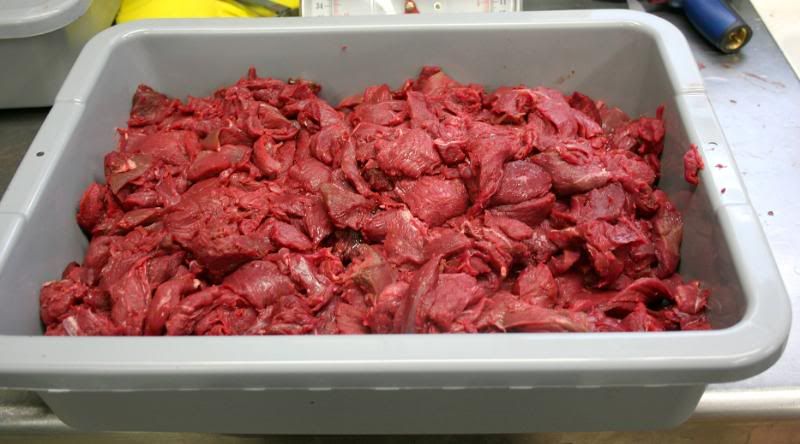
Step 9: Trim all fat, silver meat, & muscle sheath/fascia from the meat & cut into chunks.
Step 10: Grind the venison.
1st Grind.
2nd Grind.
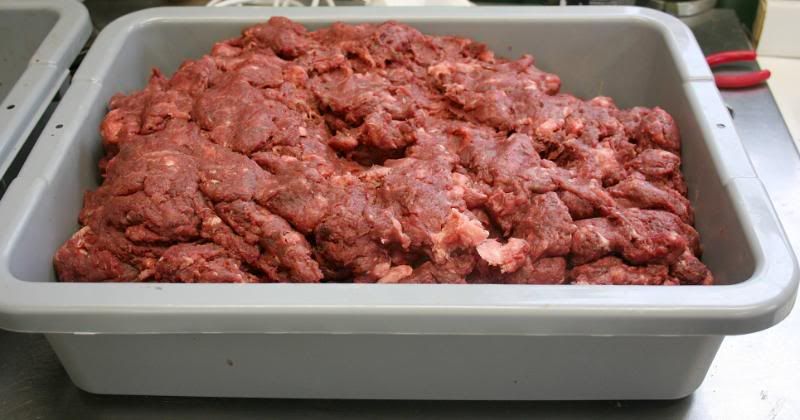
Step 11: Mix the ground venison & ground pork. I tried using an electric mixer with bread hooks but it didn’t work so well. I mixed it all by hand. The meat was still very cold from being in the fridge. I had to stick my hands in the freezer several times. If any of y’all want to build up finger strength, this is the way to do it. NOTE: I have bought a large, hand cranked mixer since I wrote this. Makes the job a lot easier.
=======================
Step 12: The mixed venison & pork.
The summer sausage kit.
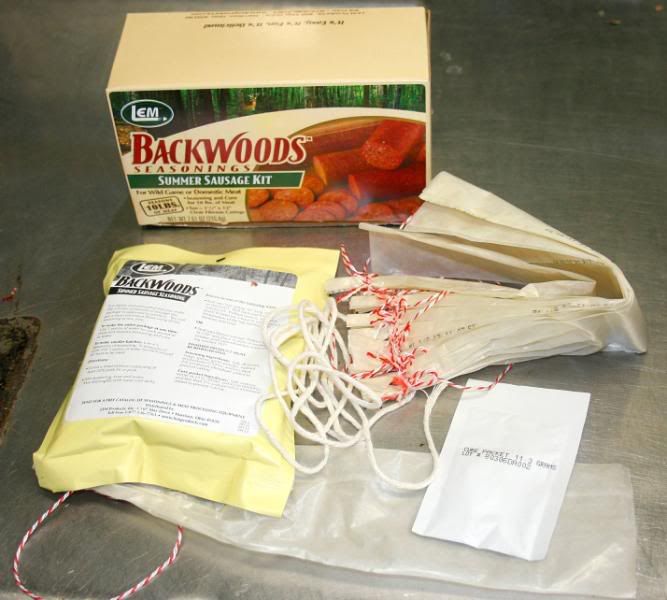
Prior to stuffing the casing, I mixed the seasonings & cure, and then mixed that with the 10 pounds of ground venison & pork, again, by hand.
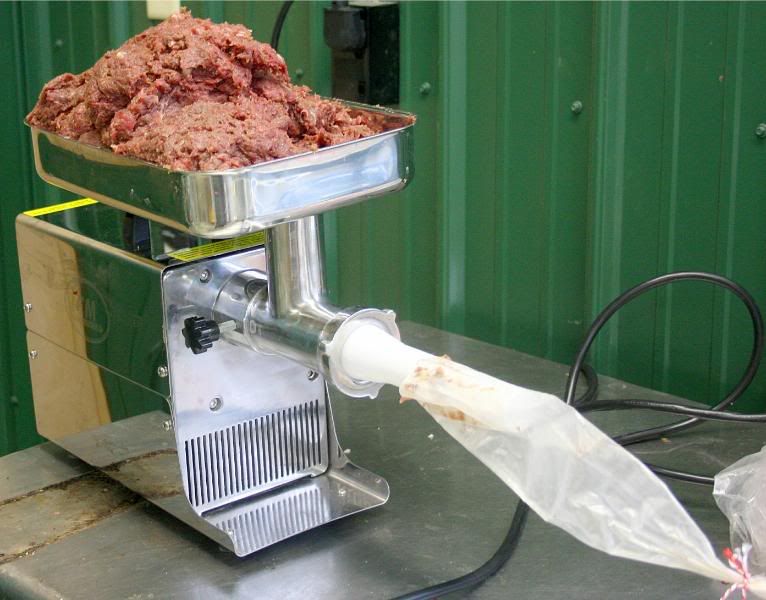
Step 13: Stuffing the summer sausage casings.

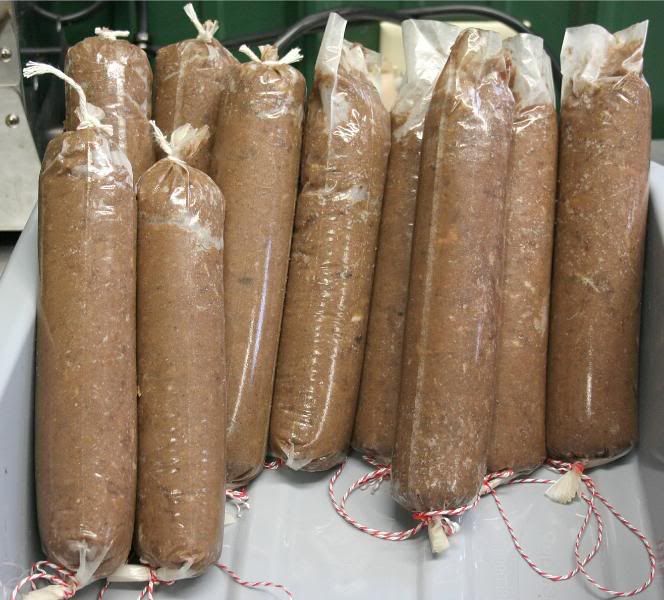
Step 14: The finished summer sausage before baking/smoking.
=================================
Step 15: The finished product.
It took approximately 6 hrs at 170 to reach an internal temp of 165.
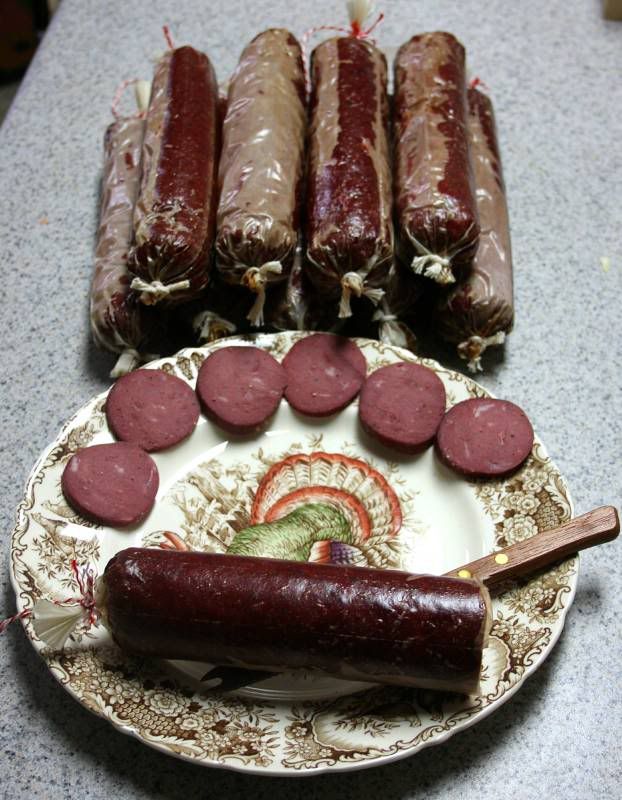
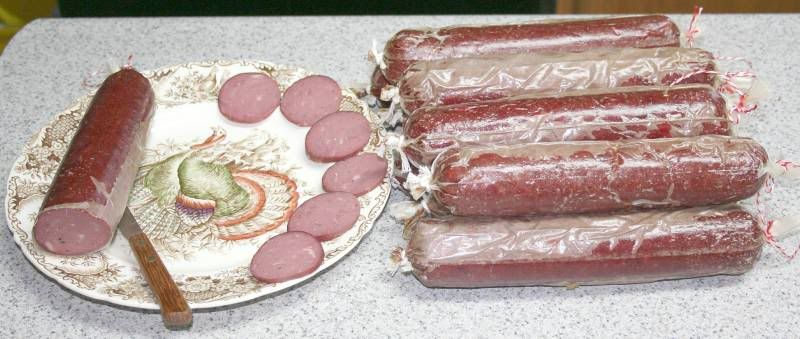
Finished at last.
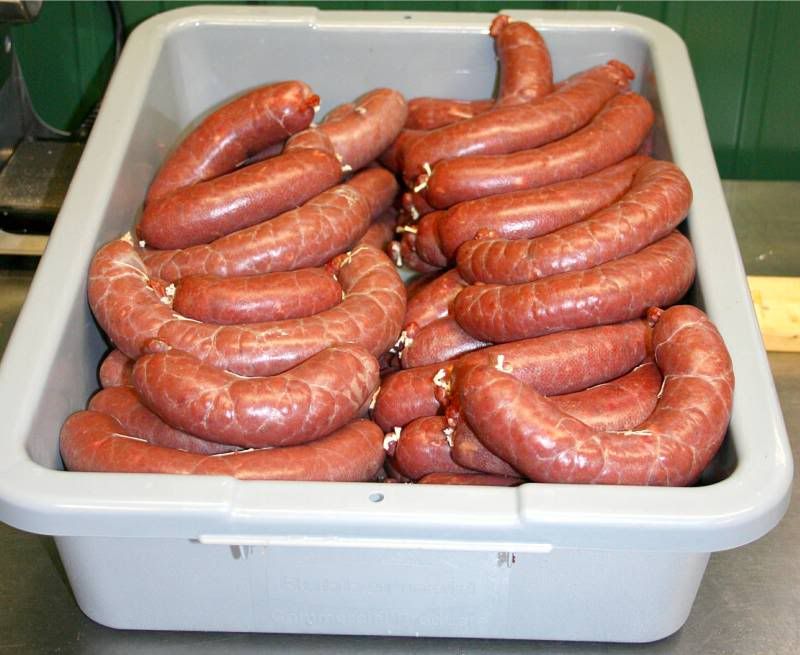
This is what 22 pounds of fresh venison sausage looks like. The casings are natural. I finished stuffing a little before 5 this evening. All that’s left to do is packing the sausage & clean-up.
This is what a couple of the sausage looks like after spending some quality time in the oven. The big lumps are what were left in the stuffer tube. They tasted pretty good but I like the summer sausage better.

I have made/bought some additional equipment since the original string. Some are “gotta haves” & some are”nice to haves”. Again, these are just my opinions & may or may not help anyone else.
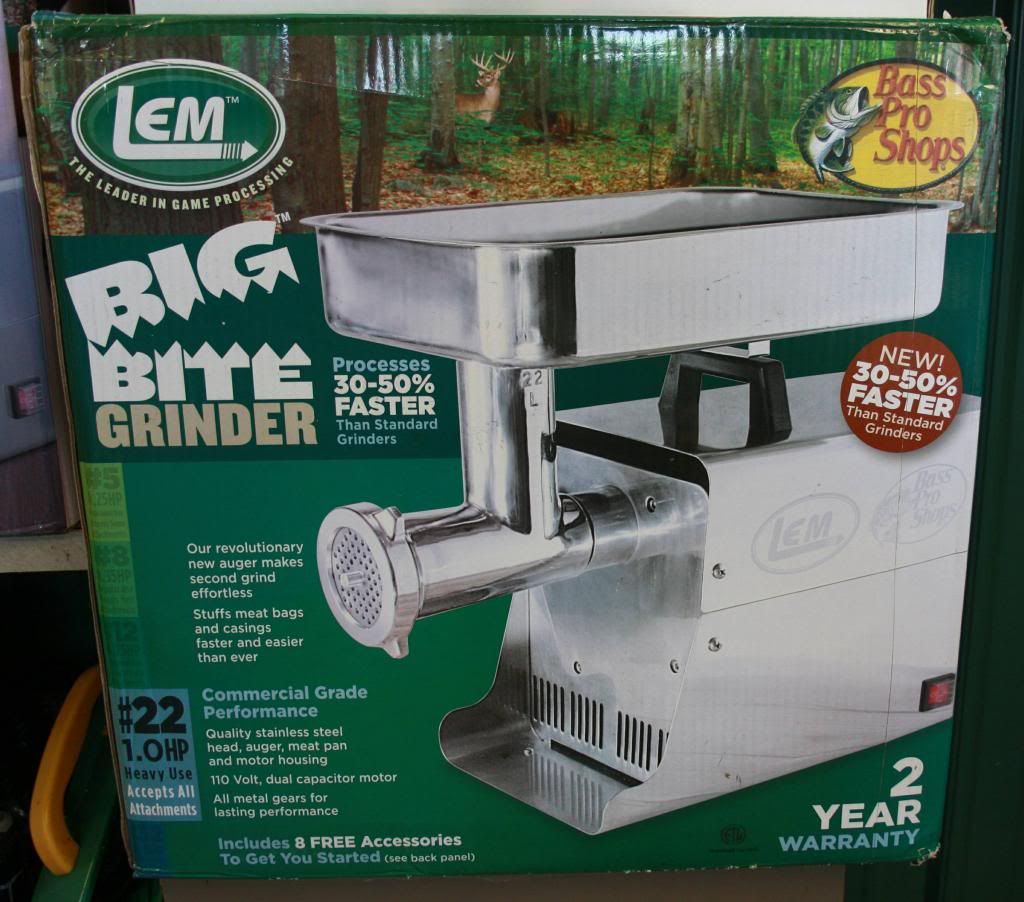
This is the”big boy” 1 HP grinder. It is so much quicker & easier to use than smaller models. The Lems are extremely well built & durable. It’s definitely a “gotta have” for me & I highly recommend it to anyone looking to buy a new or upgrade their current grinder.
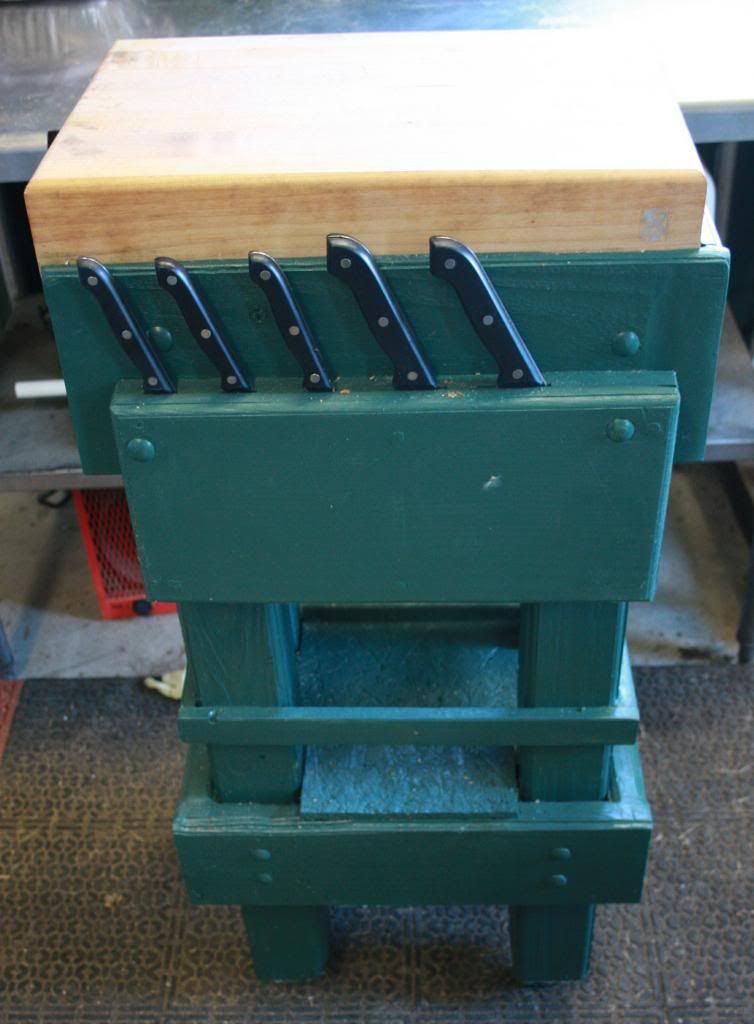
This is a butcher block table that I made. It’s easier to use than the stainless steel table & doesn’t dull knives as quickly as using the table. A “gotta have” for me.
This is a pedal control for the grinder. It makes it a lot easier & safer when grinding as the grinder stops immediately when pressure is removed from the pedal. I think it’s a “gotta have” for all grinders.
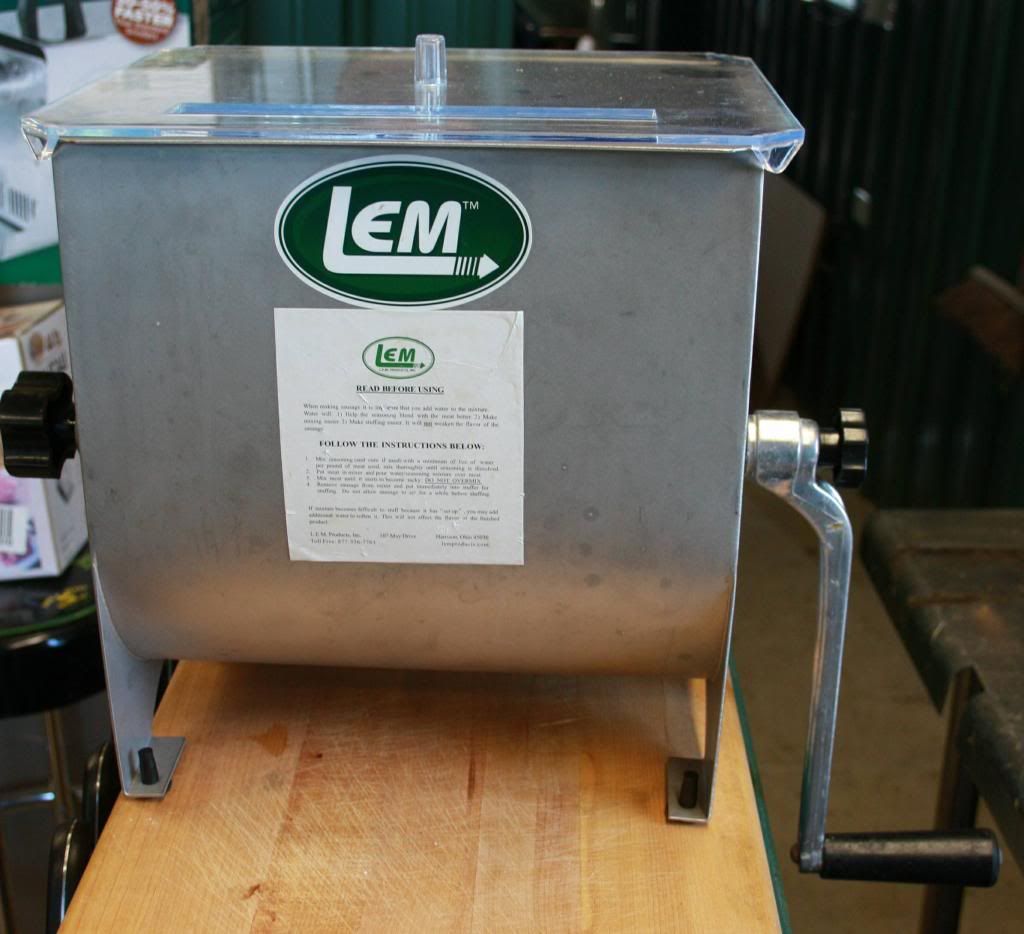
This is the hand cranked mixer I use. It’s a lot quicker & easier than mixing by hand. Lems does make a larger model that will connect directly to the grinder but it’s pretty expensive & not worth the extra cash to me. Not exactly a “gotta have” but I don’t regret buying it.
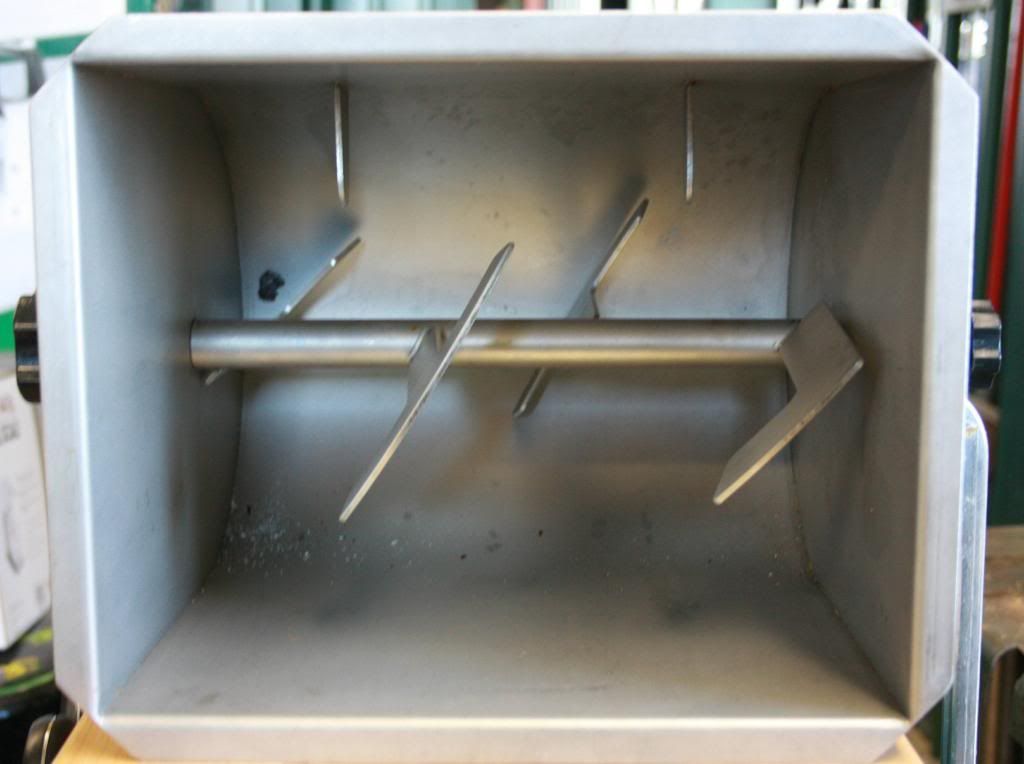
Inside of the mixer.
=================================================
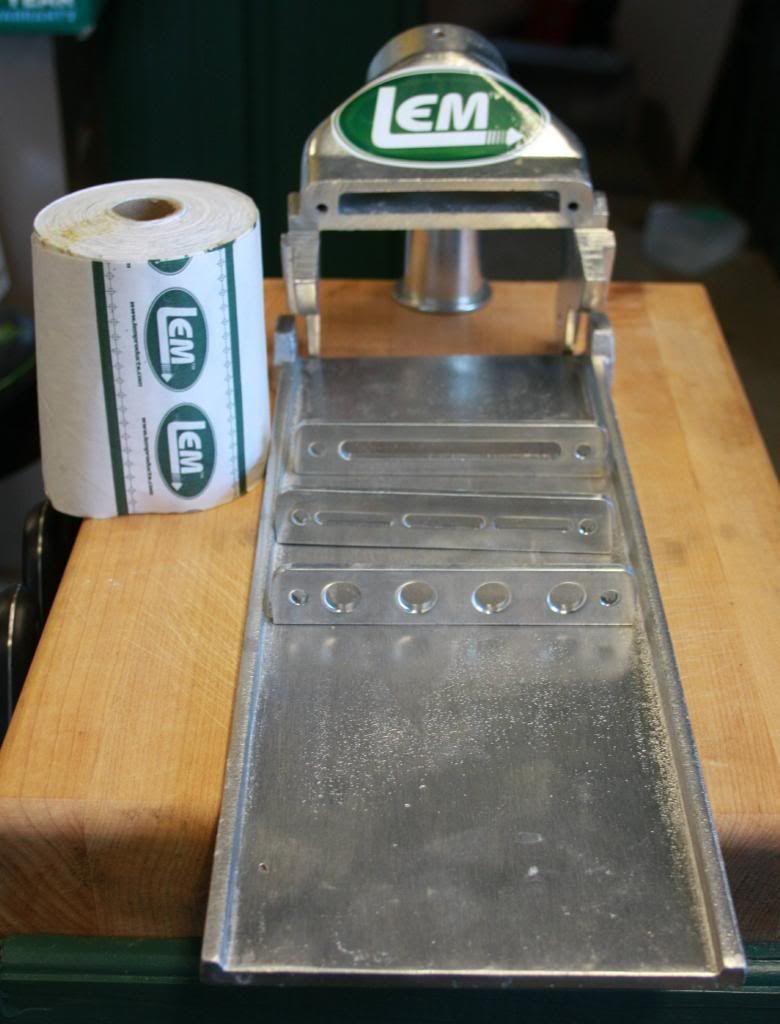
This is an attachment that fits on my smaller grinder. It connects to the output tube. The meat is forced through 1 of the plates onto butcher paper that auto-spools as the meat hits it. The 1st plate is for snack sticks, the 2nd for jerky, & the 3rd for burgers. It came with a large pair of meat shears to cut the meat to length. A “nice to have”.
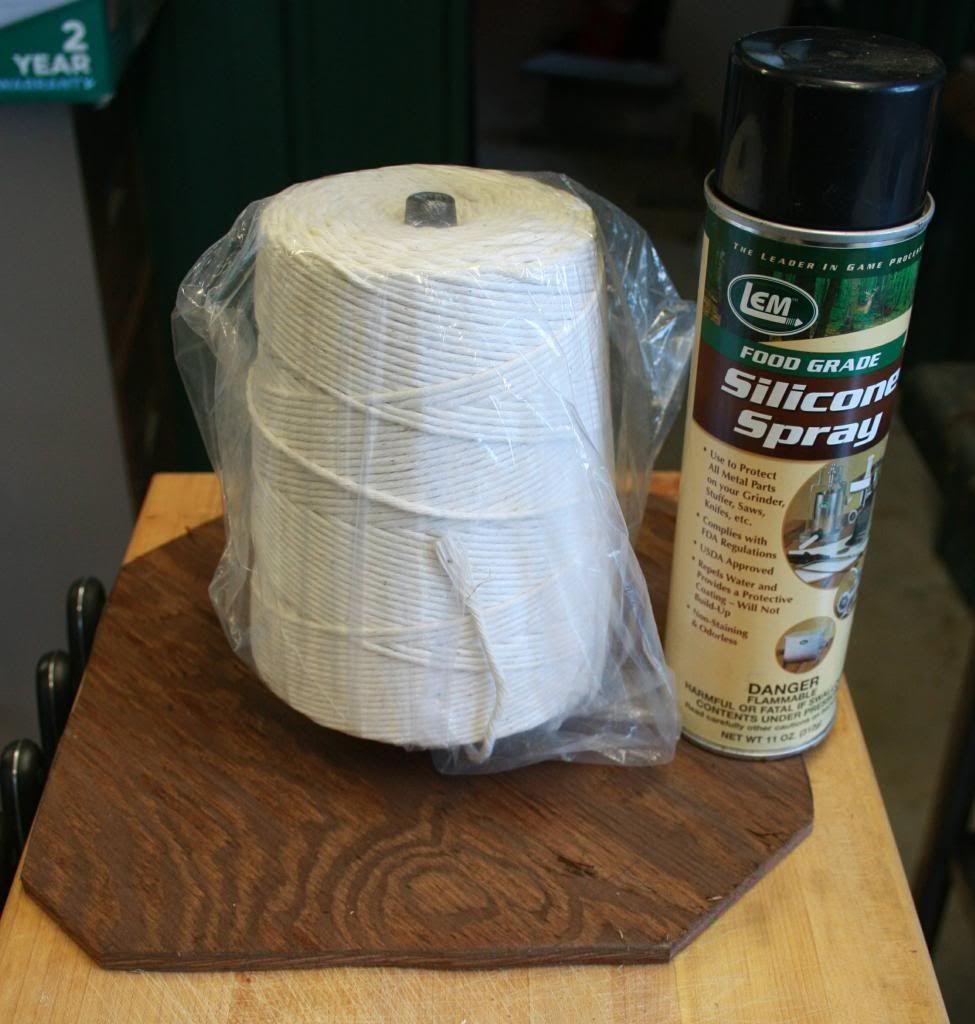
I found that having a spool of string makes it easier to tie off sausage casing. I made the platform from a scrape piece of plywood & a dowel. The silicone spray is food grade & I use it on all equipment when I start processing, several times during the process, & after clean-up. The string is a “nice to have” but the spray is a “gotta have” for all grinders.
This is the air skinner. It really does make skinning quicker & easier. A “gotta have” for me that I recommend to everyone.
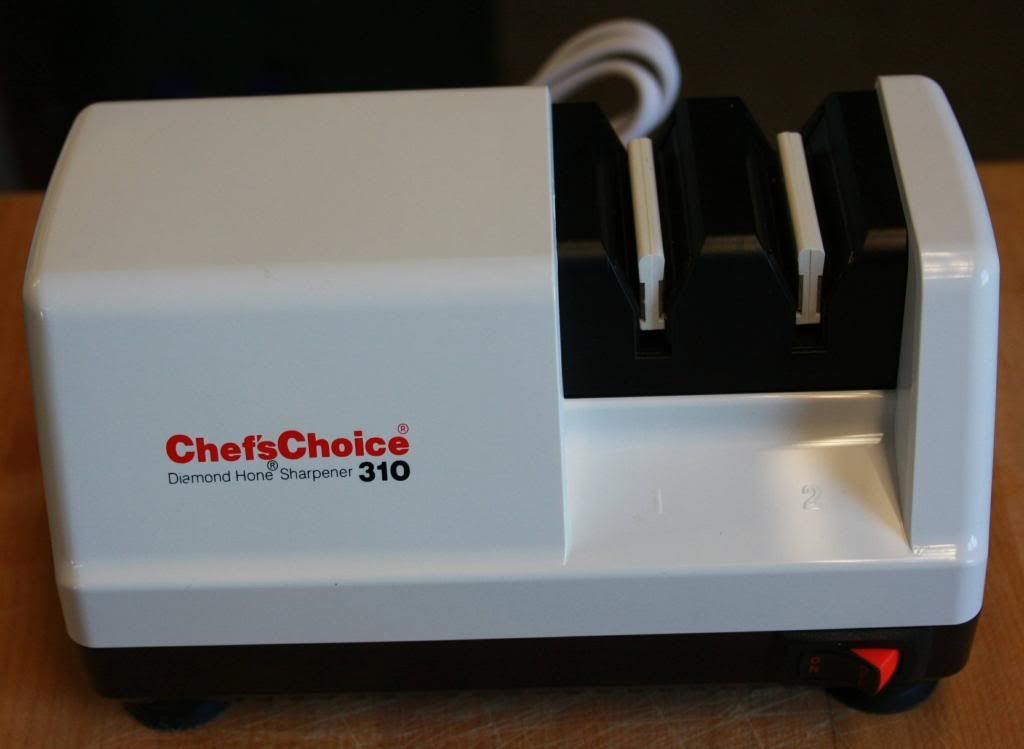
This is the knife sharpener I mentioned. After the initial sharpening, which does take some time, the sharpening is faster than a hand sharpener. As long as it’s used correctly, heat will not build up & dis-temper (is that a word??) the blade. A nice to have.
==================================================
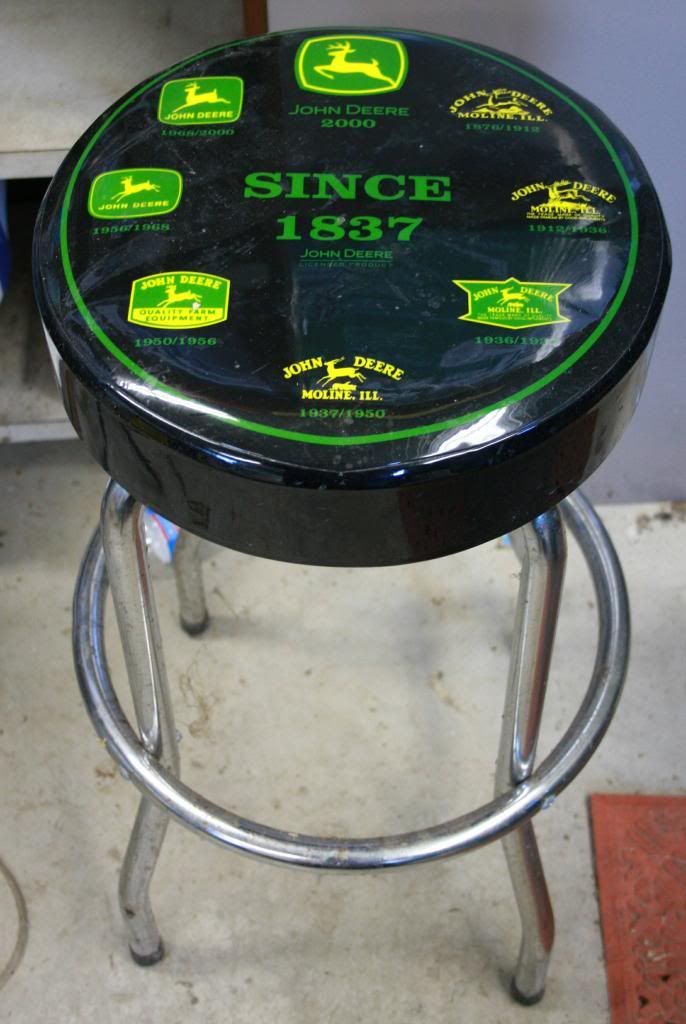
This is a stool I was given for Christmas & really makes it more comfortable when grinding & stuffing. Rather apropos, using a Deere stool to process deer. With my knee & back issues, it’s a “gotta have” for me that I recommend to everyone.
This thick rubber mat also makes it easier on the knees & back. And, again, a “gotta have” for me that I recommend to everyone.

I have found that keeping the original boxes makes it easier to store the equipment as well as keeping it clean. Being surrounded by fields, there is a lot of dust flying around during planting, combining, & working ground.


 available too many! Hopefully, it will help someone.